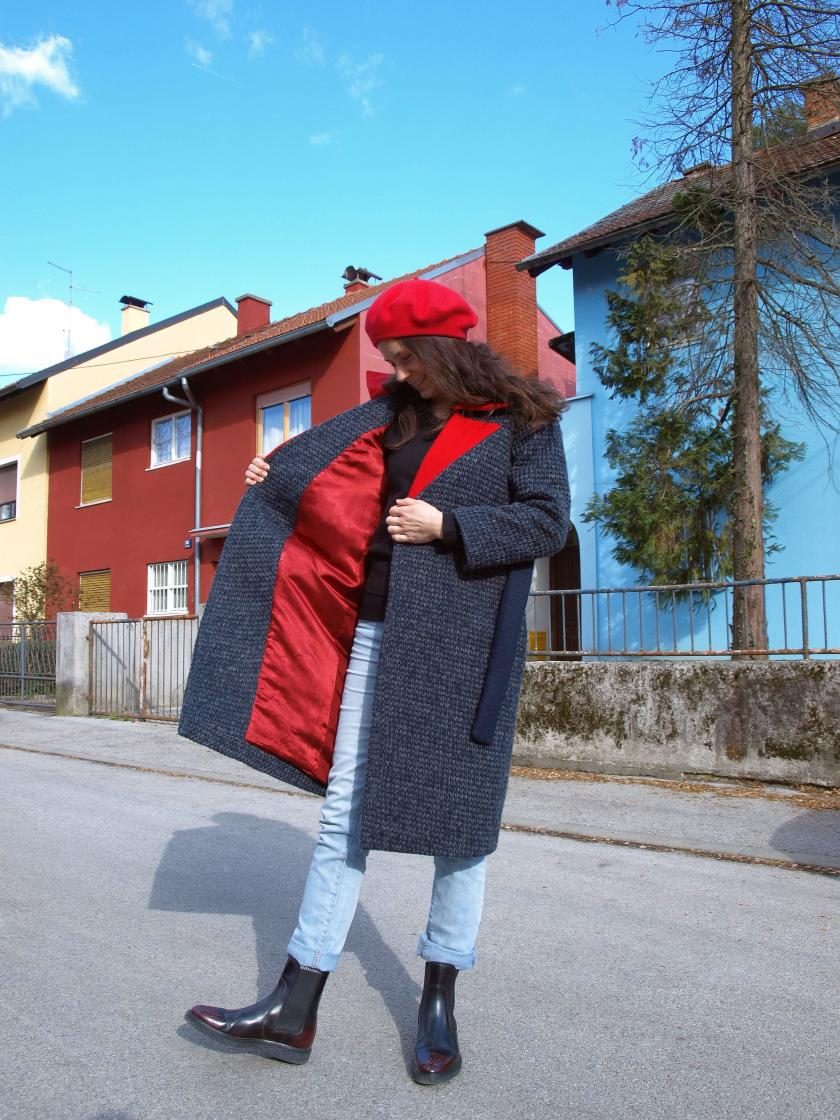
Do you ever dream of THE coat? And in that dream, do you have the perfect coat that is right amount different than its peers on the street? Does it catch the eye with details and pops of colour, yet is somehow elegantly subdued with its crisp lines and simple silhouette? I think I may have made myself that coat from my dreams. I kid you not.
The pattern is by Named Clothing from their book Breaking the Pattern they released last year. The book has ten sewing patterns and I went straight for the coat. I am not yet the most experienced out there but I have already two coats under my belt so I knew I could make this one as well.
Be prepared – the coat has 20 pattern pieces! I knew that before I started but did not really give it much thought. But when I started tracing it out I was tired after the first 5 pieces…I did not even manage to trace them all out in one day. So only tracing out took two days. Then another day for cutting out the main fabric and lining. Then another day for cutting out the interfacing and ironing it on the corresponding pieces. This is now already 4 days without even touching the sewing machine. But soon the fun part started and it was fun assembling the pieces together one by one. More so because I used two different fabrics.
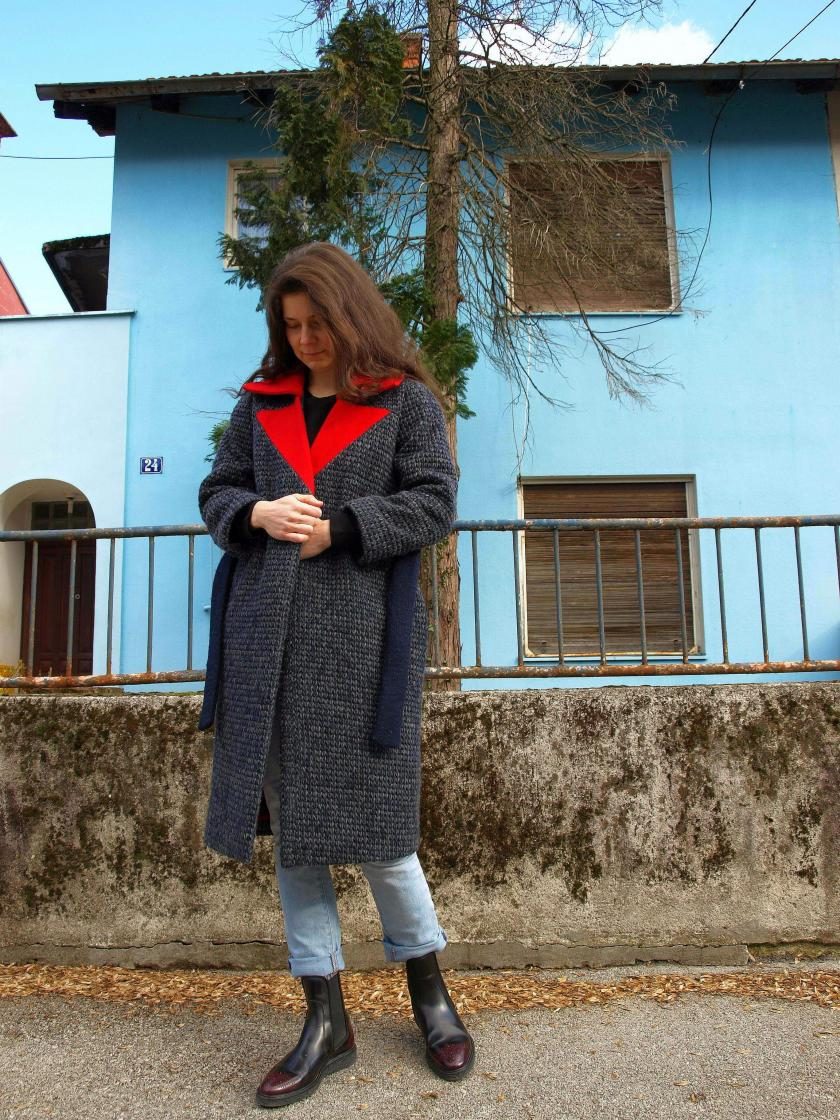
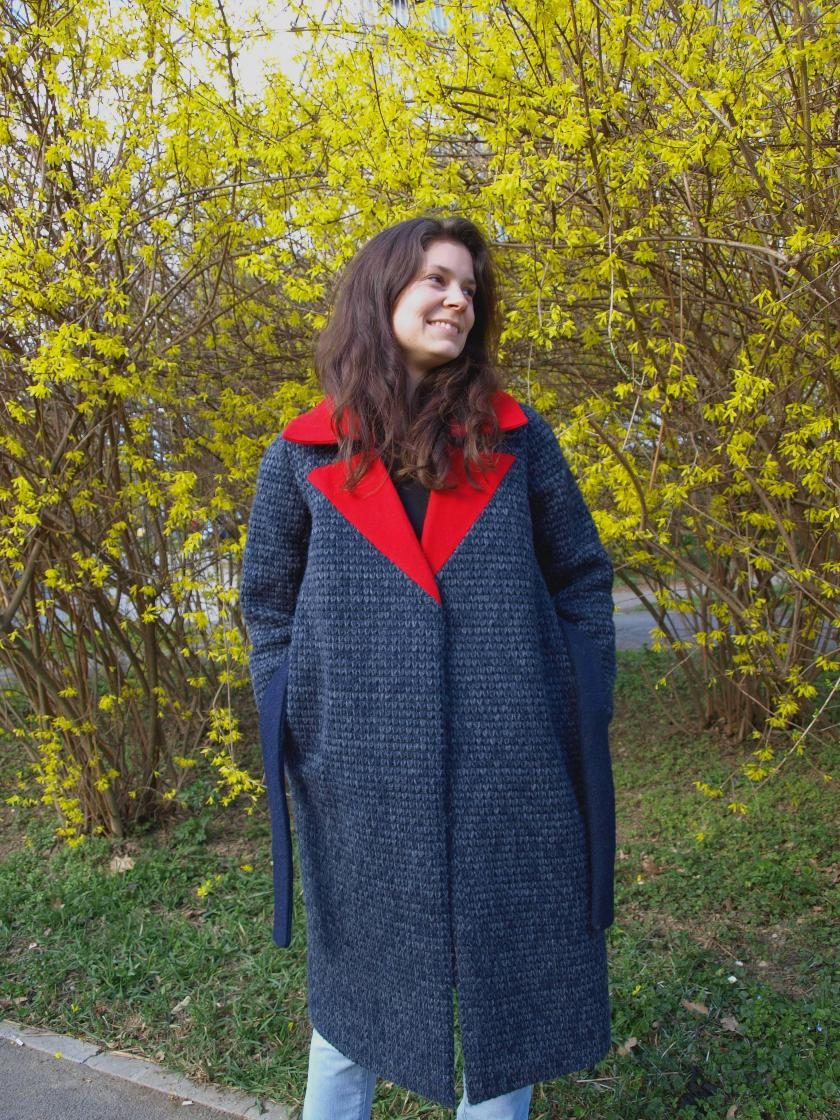
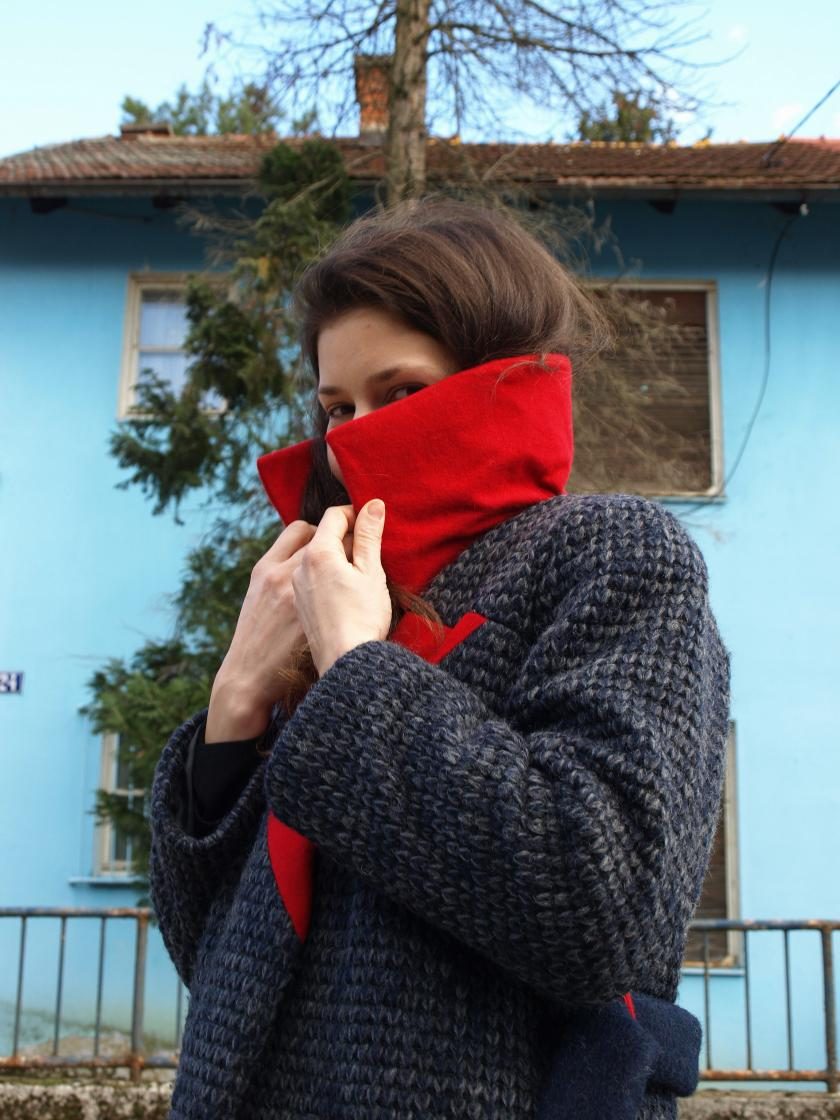
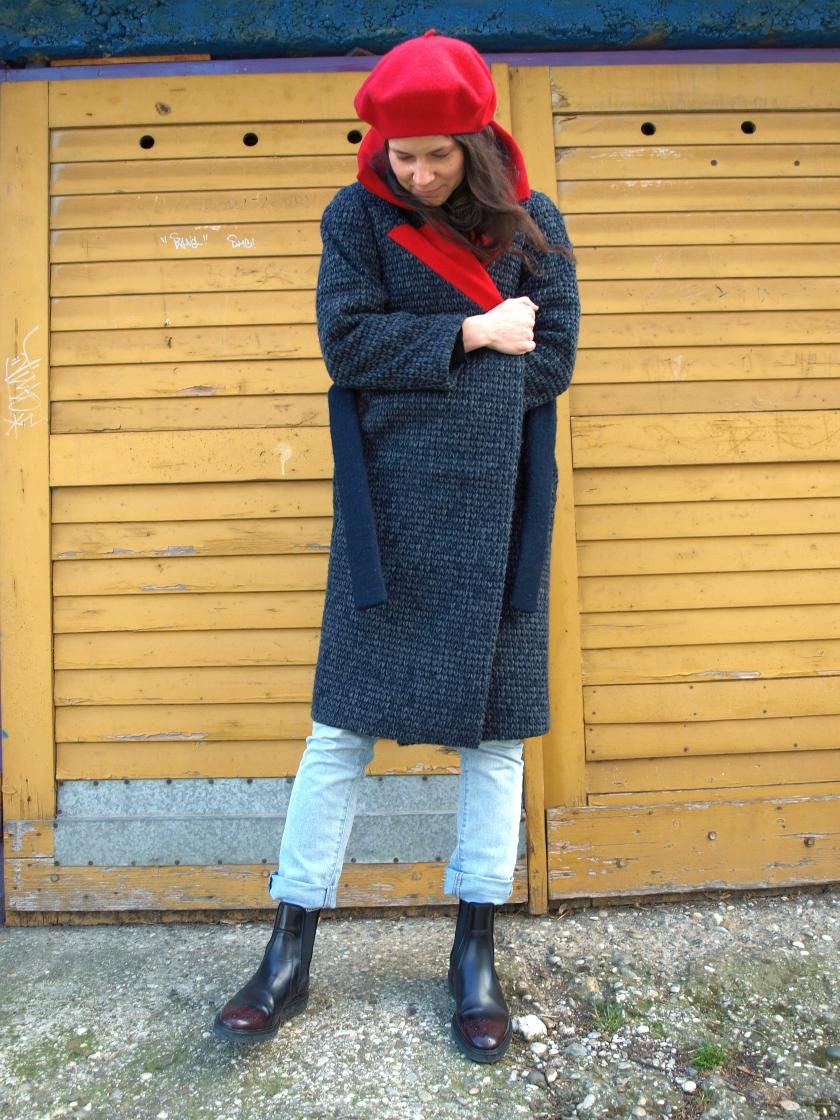
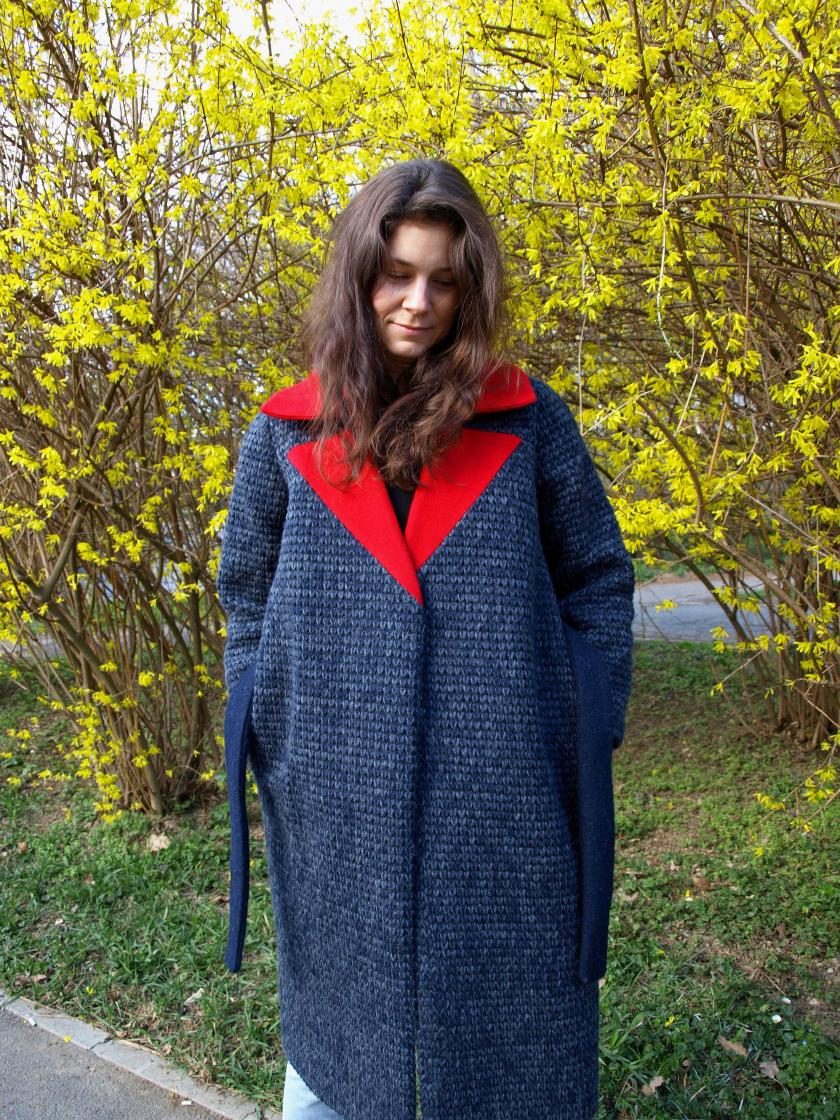
The blue wool fabric is double sided – one side with different shades of blue and grey which I used on the coat bodice and sleeves and plain dark blue side I used for the belt. The fabric is thicker because there is also an extra layer between these two sides onto which both fabrics are glued. The faux collar, real collar and belt loops are made in light red wool I had left over from a cape my mom made me years ago. This red wool is much thinner so I interfaced it to make it work better in combination with the thicker wool fabric. And I can not tell you how satisfying it was working with both of these fabrics. They pressed like a dream and sewed up so easily, I was – and I am still – impressed. I was struggling a bit with the belt and belt loops since the fabric is a bit thicker, but that was expected.
The idea for colour blocking came from my boyfriend. I had this blue wool fabric since last winter, it was a present from his parents. I wanted to make a coat from it then but never knew what pattern would work for it, so it lingered until the very last days of this winter. I went through a few patterns before settling on this one. With others, I feared it would easily end up looking like a blanket with this fabric (and I really wanted to avoid that). Then my boyfriend mentioned colour blocking and it all came into place.
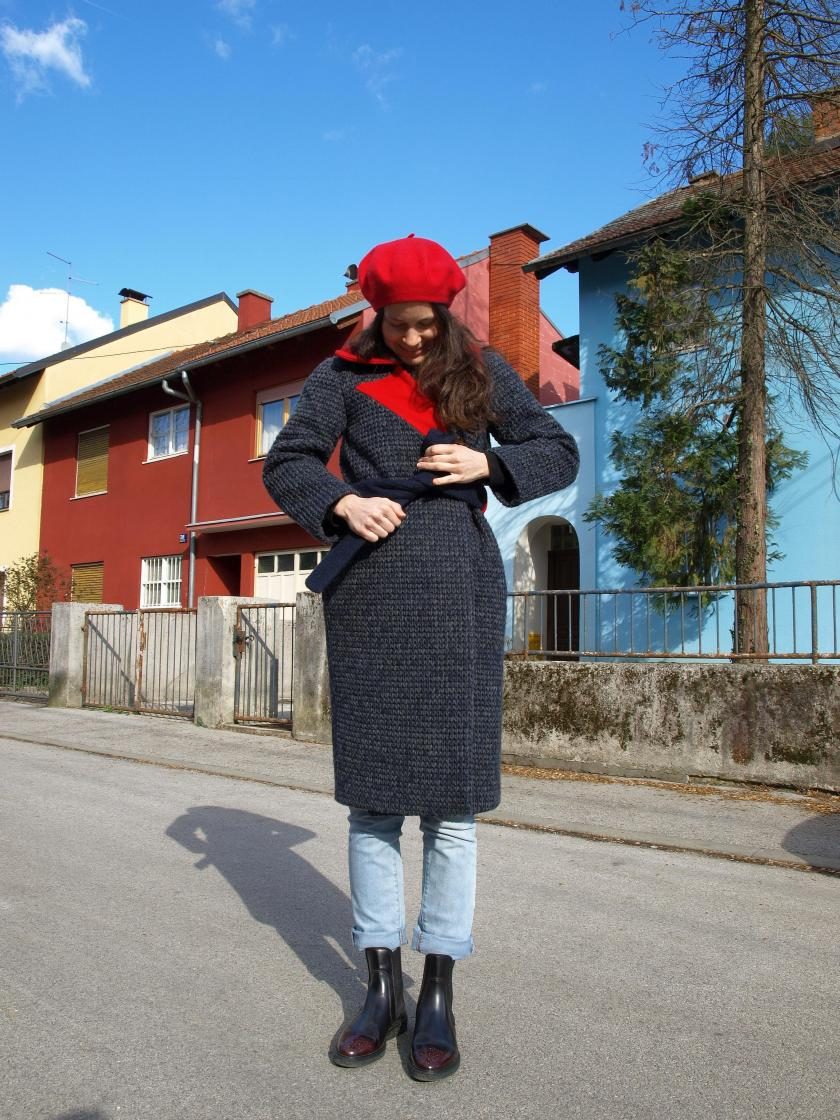
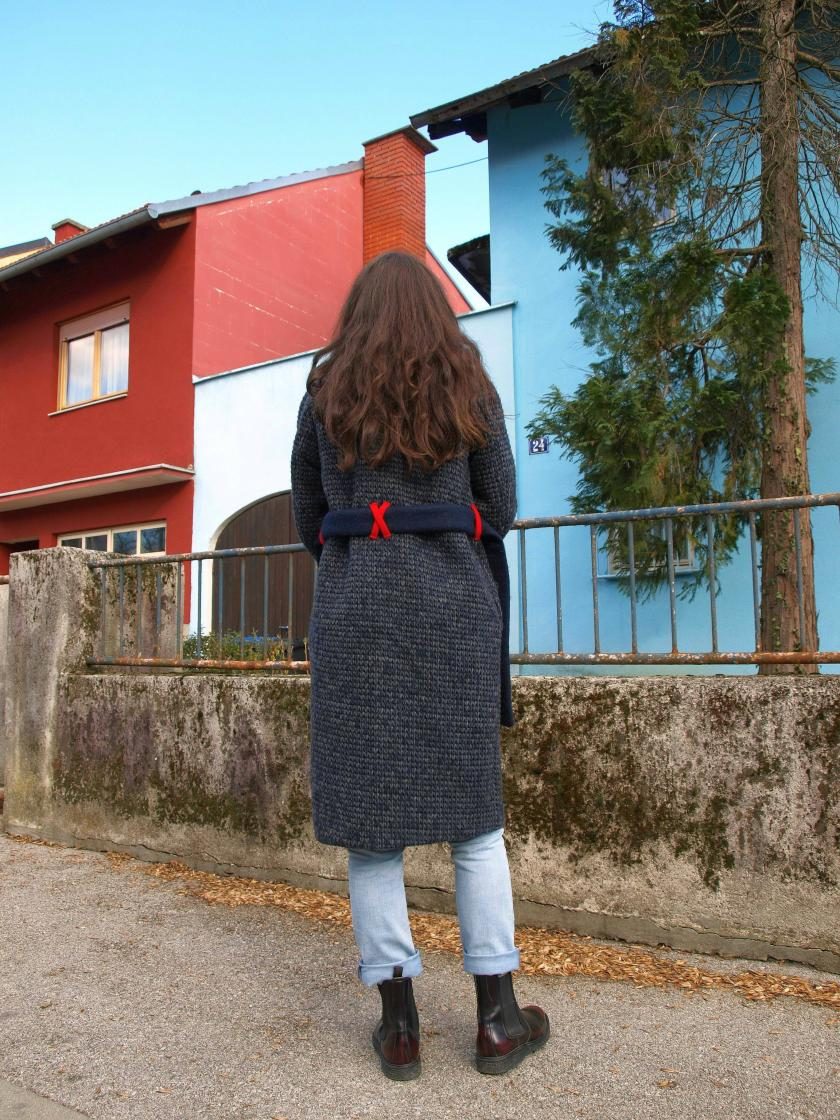
The pattern originally has two belt loops that are sewn in the side seams. I did not like that and also wanted to make them shorter so they would hug the belt. In the original, they are a bit longer and stick out a bit. I made them as the original at first but then removed them, shortened them and sewed back on. I also added two extra belt loops in the back so they cross over (again, an idea from my boyfriend/in house designer).
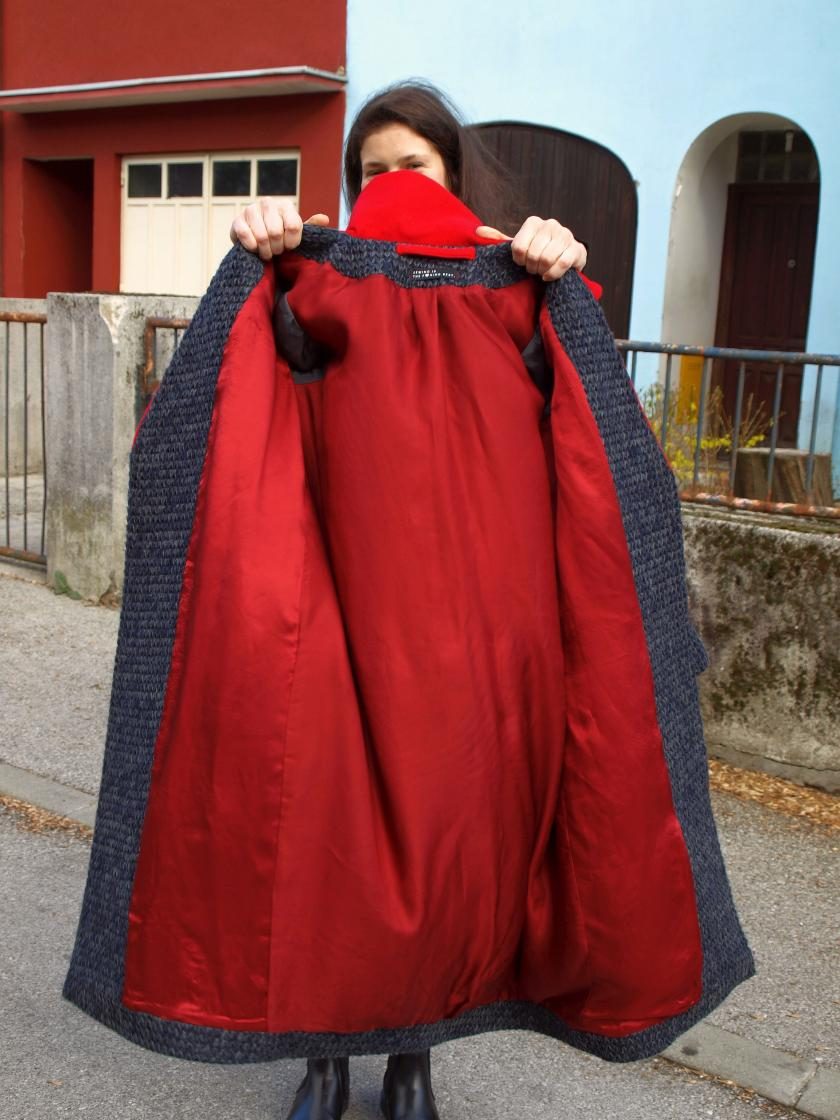
The lining came together really fast. I used two lining fabrics – red for the bodice to add the extra colour accent and greyish one from my stash left over from other projects for the sleeves. The facings are fully interfaced and as I used canvas interfacing it really makes it firm and crisp which works really well with this pattern and fabric. I mean the whole thing is a true love story.
The first Named coat I made was their Gaia coat and I already blogged about it here. I got that one directly as a PDF from their website and the instructions are really detailed and made the whole process very easy. I must say that I struggled a bit more with the book instructions for the Halla coat, as they are shorter. Maybe an editing decision for the book. But if this was my first coat, it would be a bit less encouraging. Rachel from Stitched up from YouTube saved me with some info. I watched her video on the book review for parts that I was missing in the instructions and went back to Gaia coat instructions for parts that are the same in the construction process of both coats. Overall, I’m glad I have the book and I’m looking forward to all other patterns I will make from it.

Thanks for reading and happy sewing!
Ana
baaaaas je dobar ispao! super mi je ova kombinacija matrijala koju si napravila, i taj x na ledjima.. decko ima dobro oko 😀
x je najbolji! A i dečko 🙂
What a beautiful coat, desig, fabric,
Lining, everything is perfect even your shoes 😍
Thank you Ingrid! The fabric really worked well with this pattern (and shoes!) 🙂